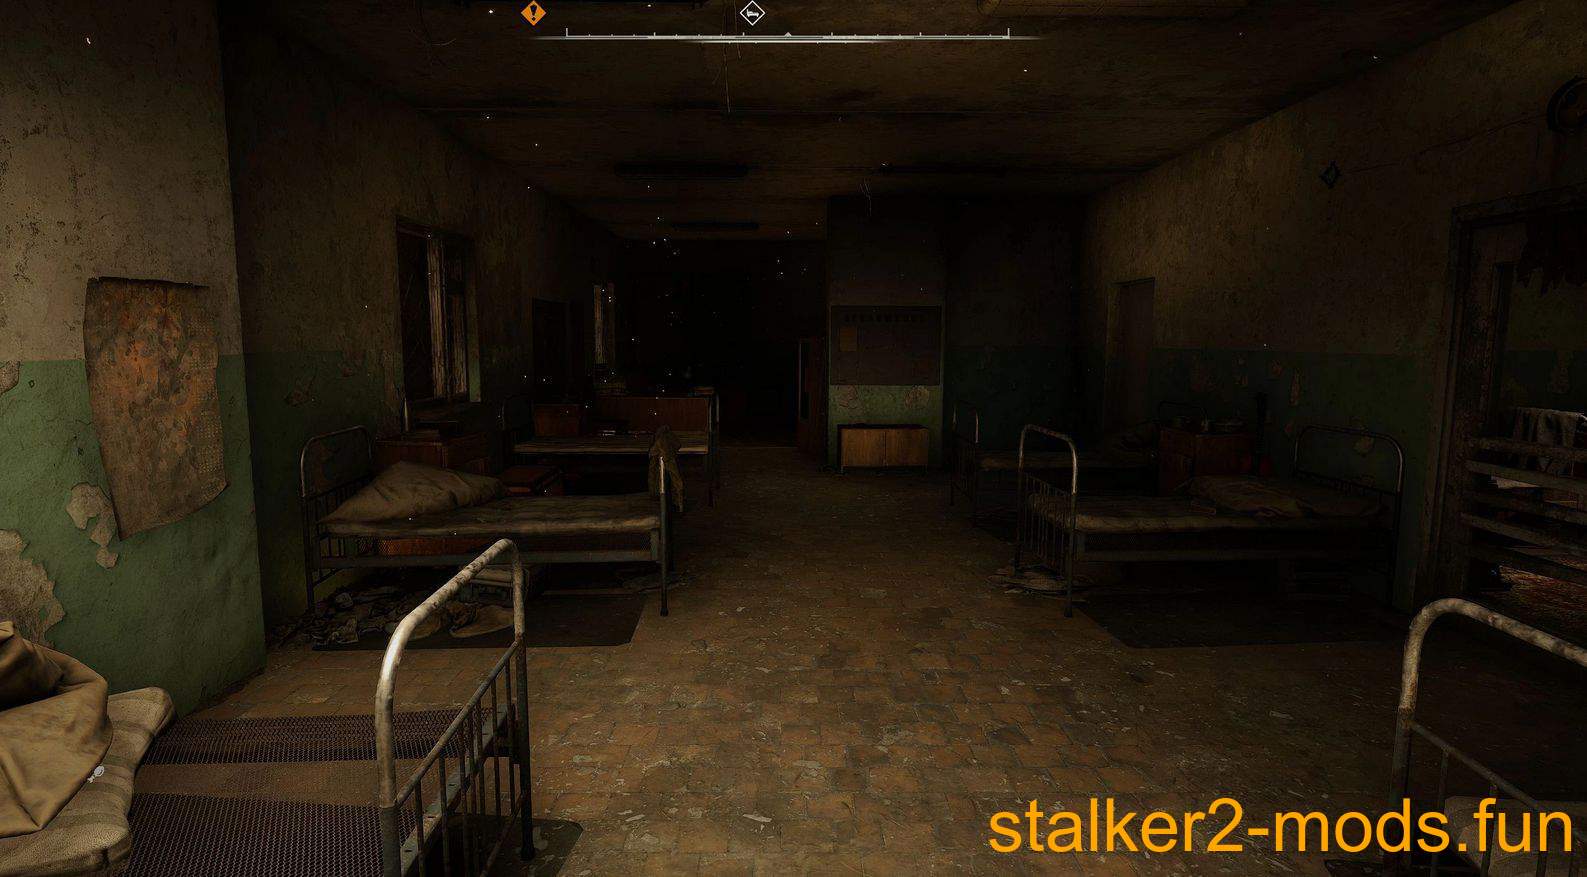
The R.E.L.I.C preset creates an immersive atmosphere, taking you back to the era of the Chernobyl disaster. The focus is on minimalism and performance, allowing you to enjoy the game without significant loss in FPS.
How to install the preset
There are several steps to install the preset correctly. This guide will help you not to miss anything important. If you encounter difficulties, I recommend looking for solutions on the internet.
Download ReShade from the official website by clicking on the link “https://reshade.me/”.
Double-click on the installation file and find the folder with the game S.T.A.L.K.E.R. 2: Heart of Chernobyl (the path to the .exe-file: STALKER 2 Heart of Chernobyl\Stalker2\Binaries\Win64\Stalker2-Win64-Shipping.exe).
Select the appropriate version of DirectX. For this game, version 10/11/12 will be fine.
During the installation process, select the “R.E.L.I.C” preset in the downloaded folder and do not change the shader settings, just click “Continue”.
Once the installation is complete, copy the contents of the “REPLACE” folder to the .exe folder of the game. If you are prompted to replace the files, confirm it. This step will improve performance, but is not required.
Verifying that the preset is working
To make sure everything is set up correctly, follow a few simple steps:
Press the Home key to access the ReShade menu.
Use the “End” key to turn the preset on and off. If this does not work, adjust the controls in ReShade.
Use the “Delete” key to reload the preset if there are problems. If this doesn’t work, also adjust this option in the program menu.
In the “Add-ons” section, make sure the “Depth Detection” option is disabled, as my preset does not use buffer depth, which contributes to better performance.
In the ReShade settings, activate the “Enable only active effects” option to speed up load times.
Enable “Performance Mode” in the bottom right corner of the interface for final optimization.


Comments (0)